Bulk action stock updates
In this manual you learn how to quickly and efficiently send stock updates to the connected channels. This is for example useful if you want to synchronize the stock again for all your products.
To synchronize stock in bulk go to 'Processes' and then click on 'Bulk actions'. Select the action Send stock updates.

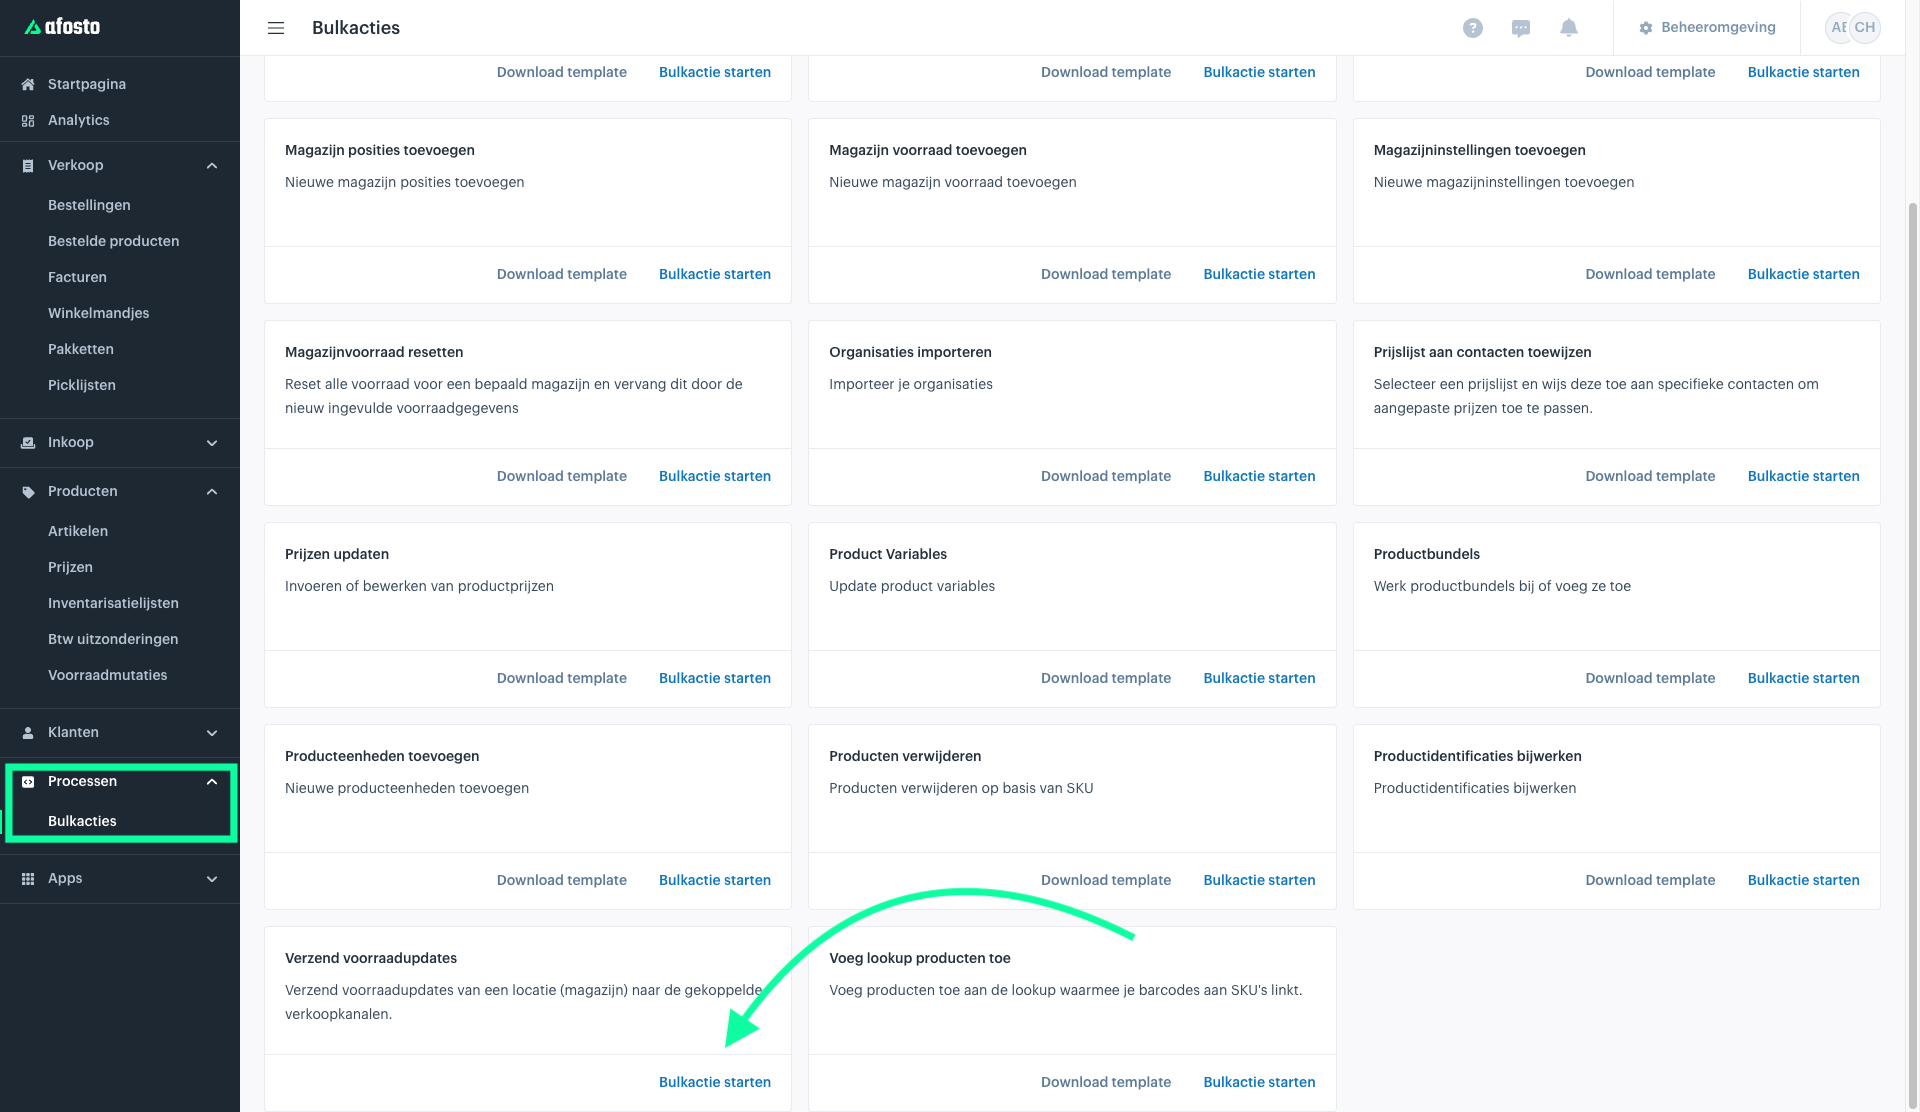
Then the screen below appears. Search here for 'Send stock updates'
For working efficiently with bulk actions, knowledge of spreadsheets (Google Sheets or Excel) is a plus. For this bulk action however you only need a list of your article numbers whose stock you want to synchronize to the connected channels.
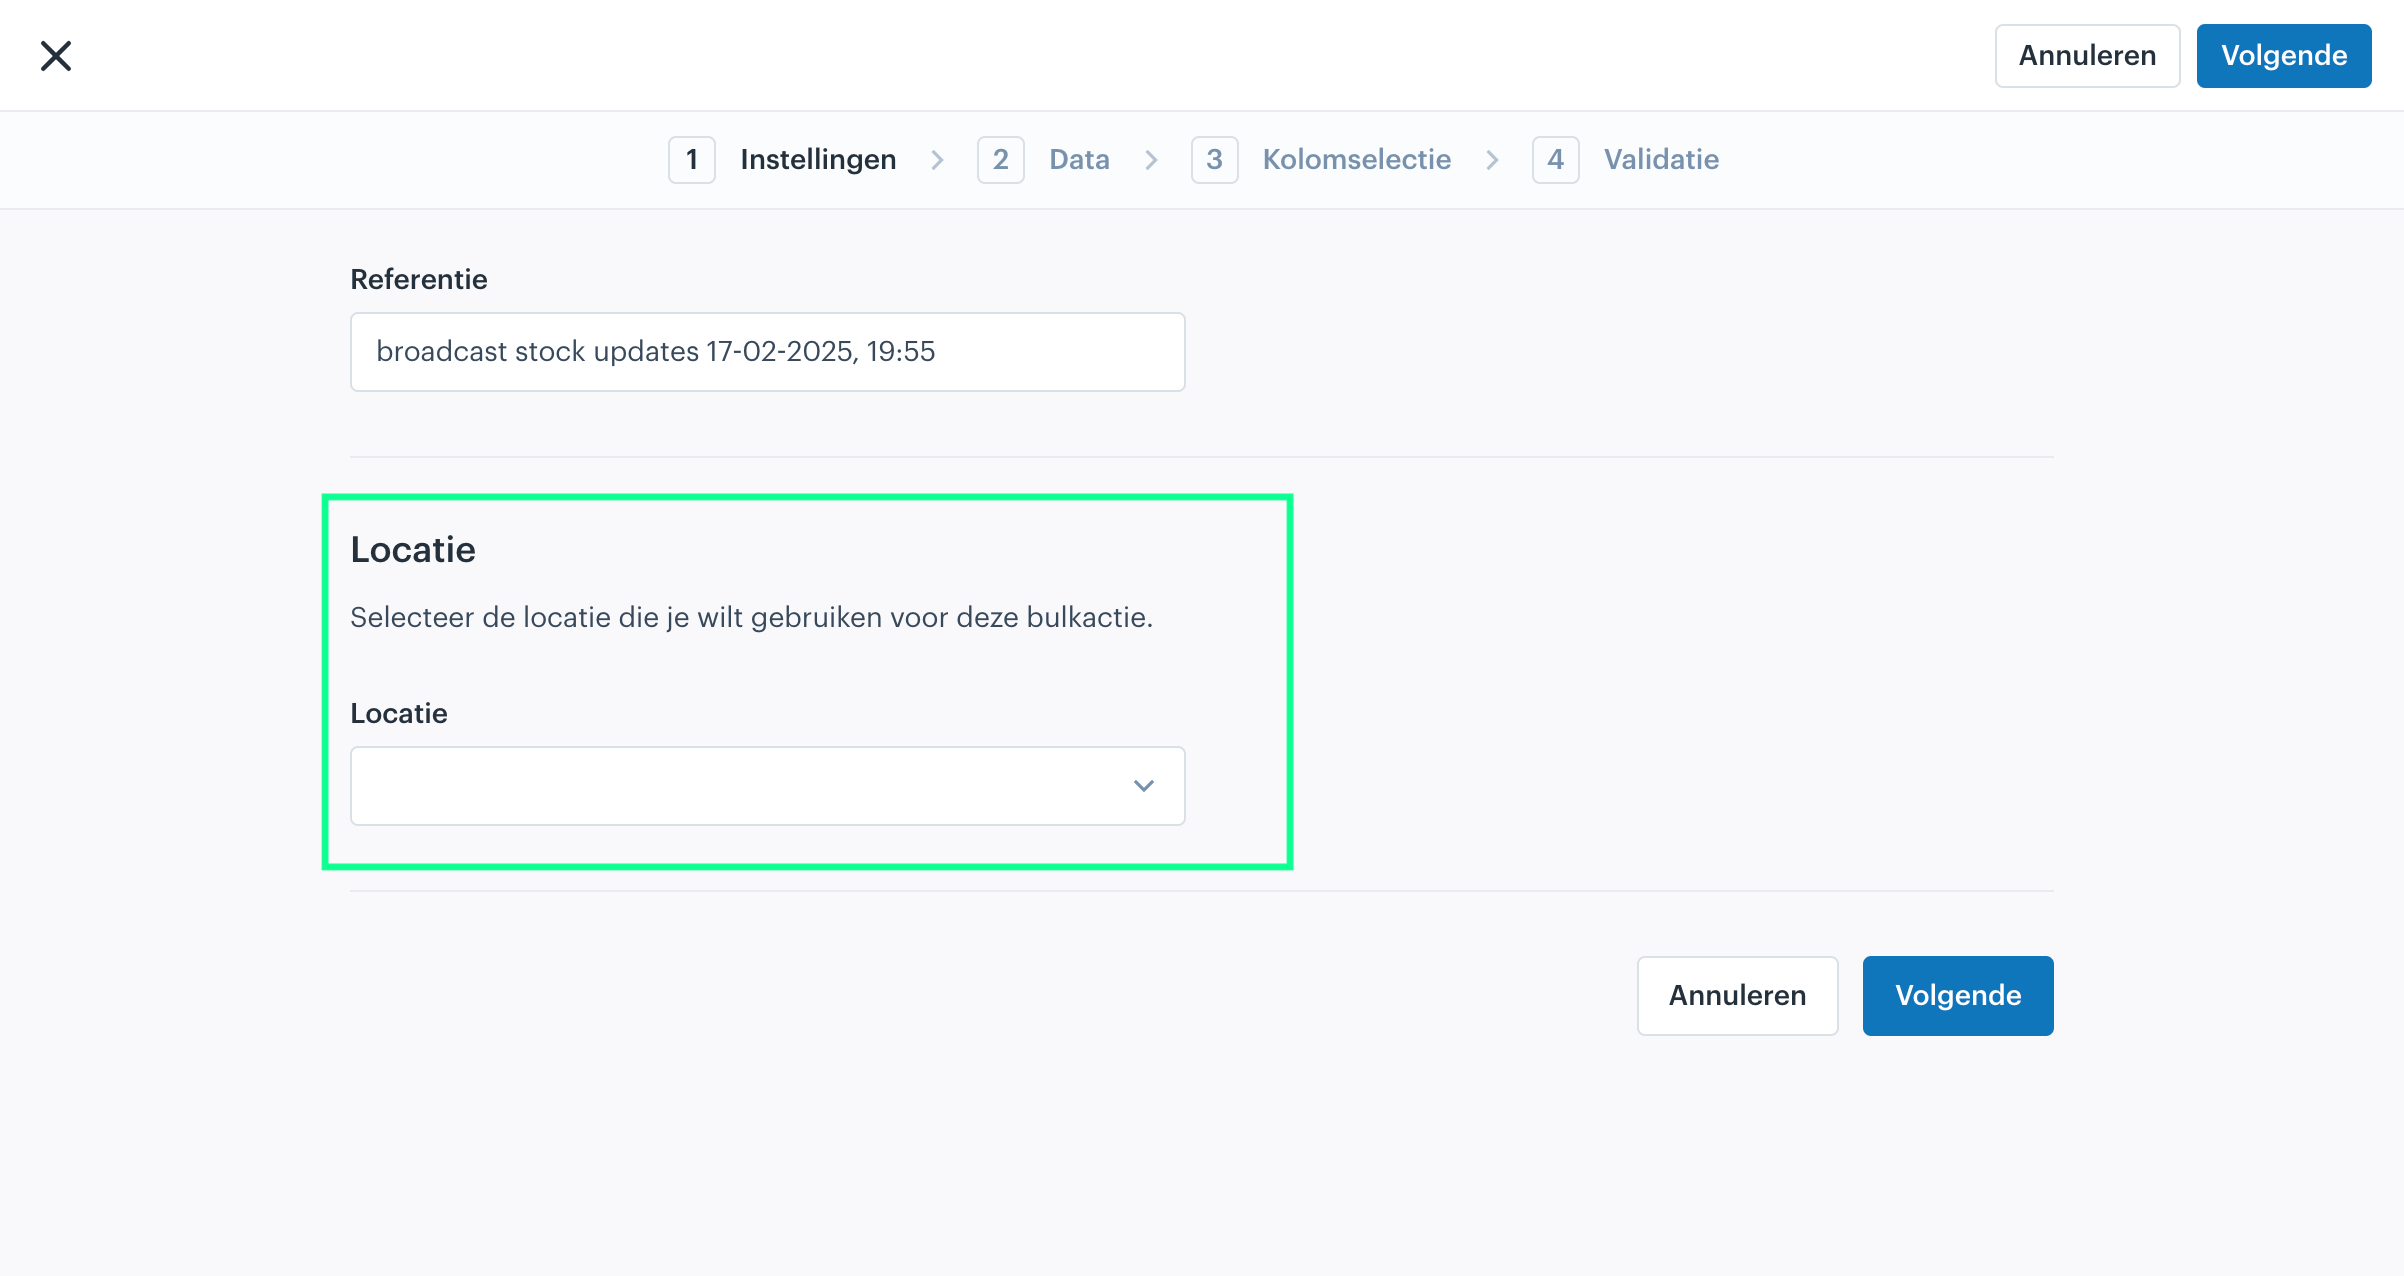
Reference
As soon as you have started the bulk action you give the action a reference by which you can easily recognize it later. This reference has no function otherwise. You can always leave the prefilled reference as it is.
Location
After that you need to select the location. That can be done via the dropdown that is marked below. The location in most cases is the location of the warehouse from which you want to send the stock updates.

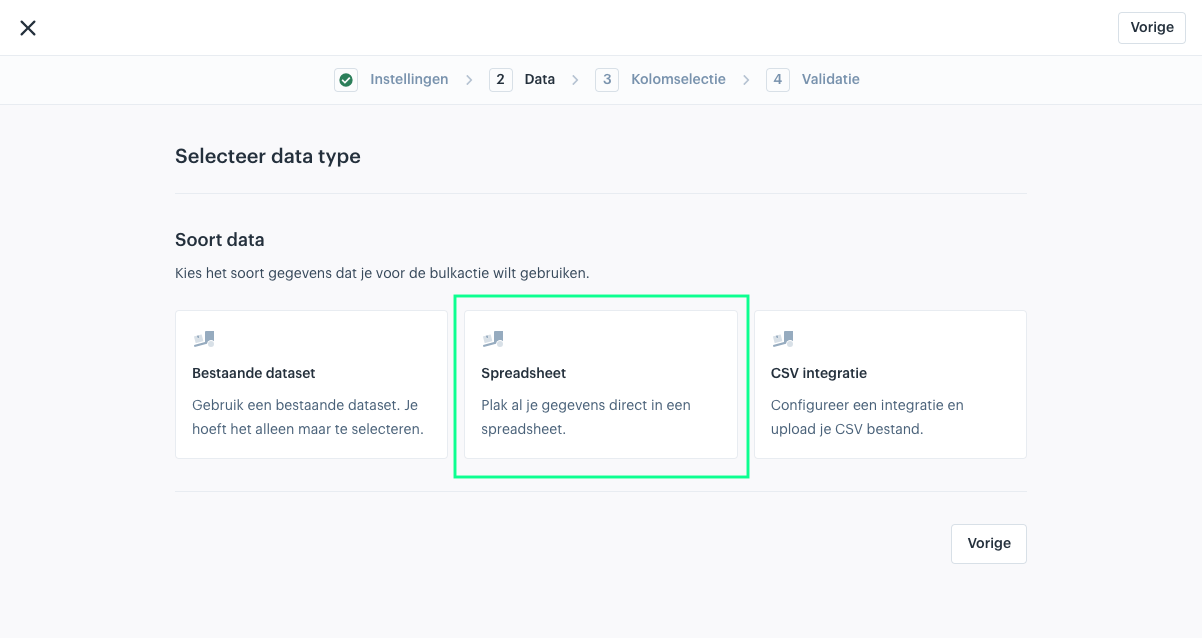
Select data type
In the second step you get the choice of three options:
- Existing dataset: if you have previously uploaded a csv file and want to use it again.
- Spreadsheet: for quickly pasting your data from the template or another spreadsheet.
- CSV integration: for uploading a new csv file.
Since the second option (spreadsheet) is the fastest, we will follow the second option for now.

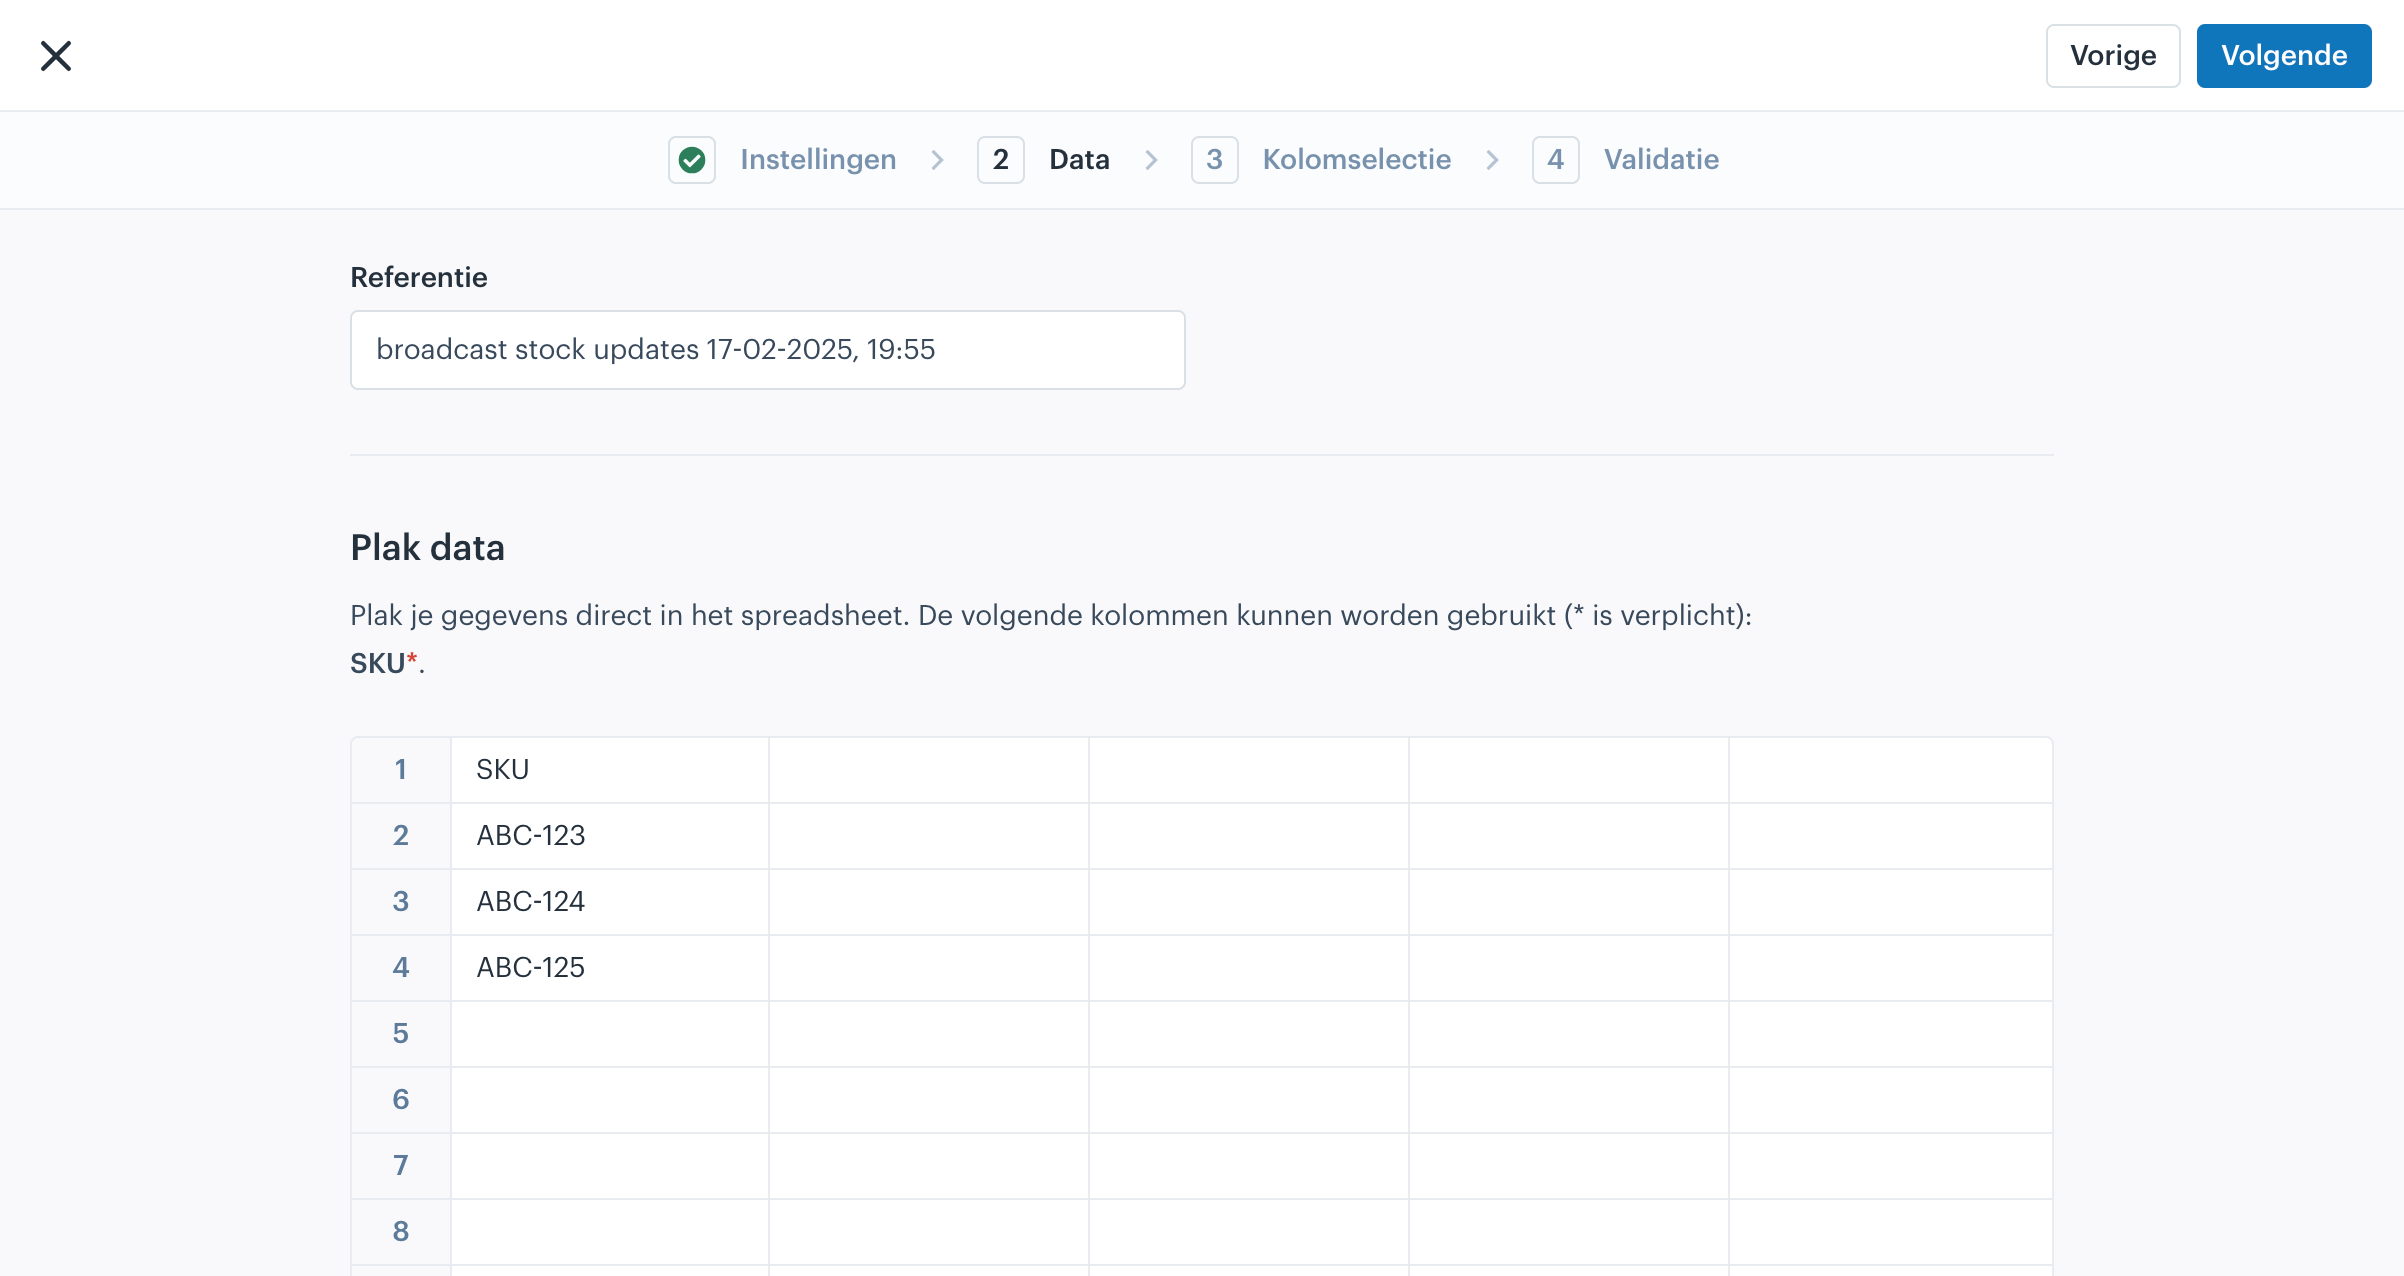
Paste data
In the next step you will find a table. In this table you can paste the values from your spreadsheet as shown below. Click 'Next' when the fields have been correctly transferred.
Note: Always enter the column names of the columns you want to upload in the first row first.
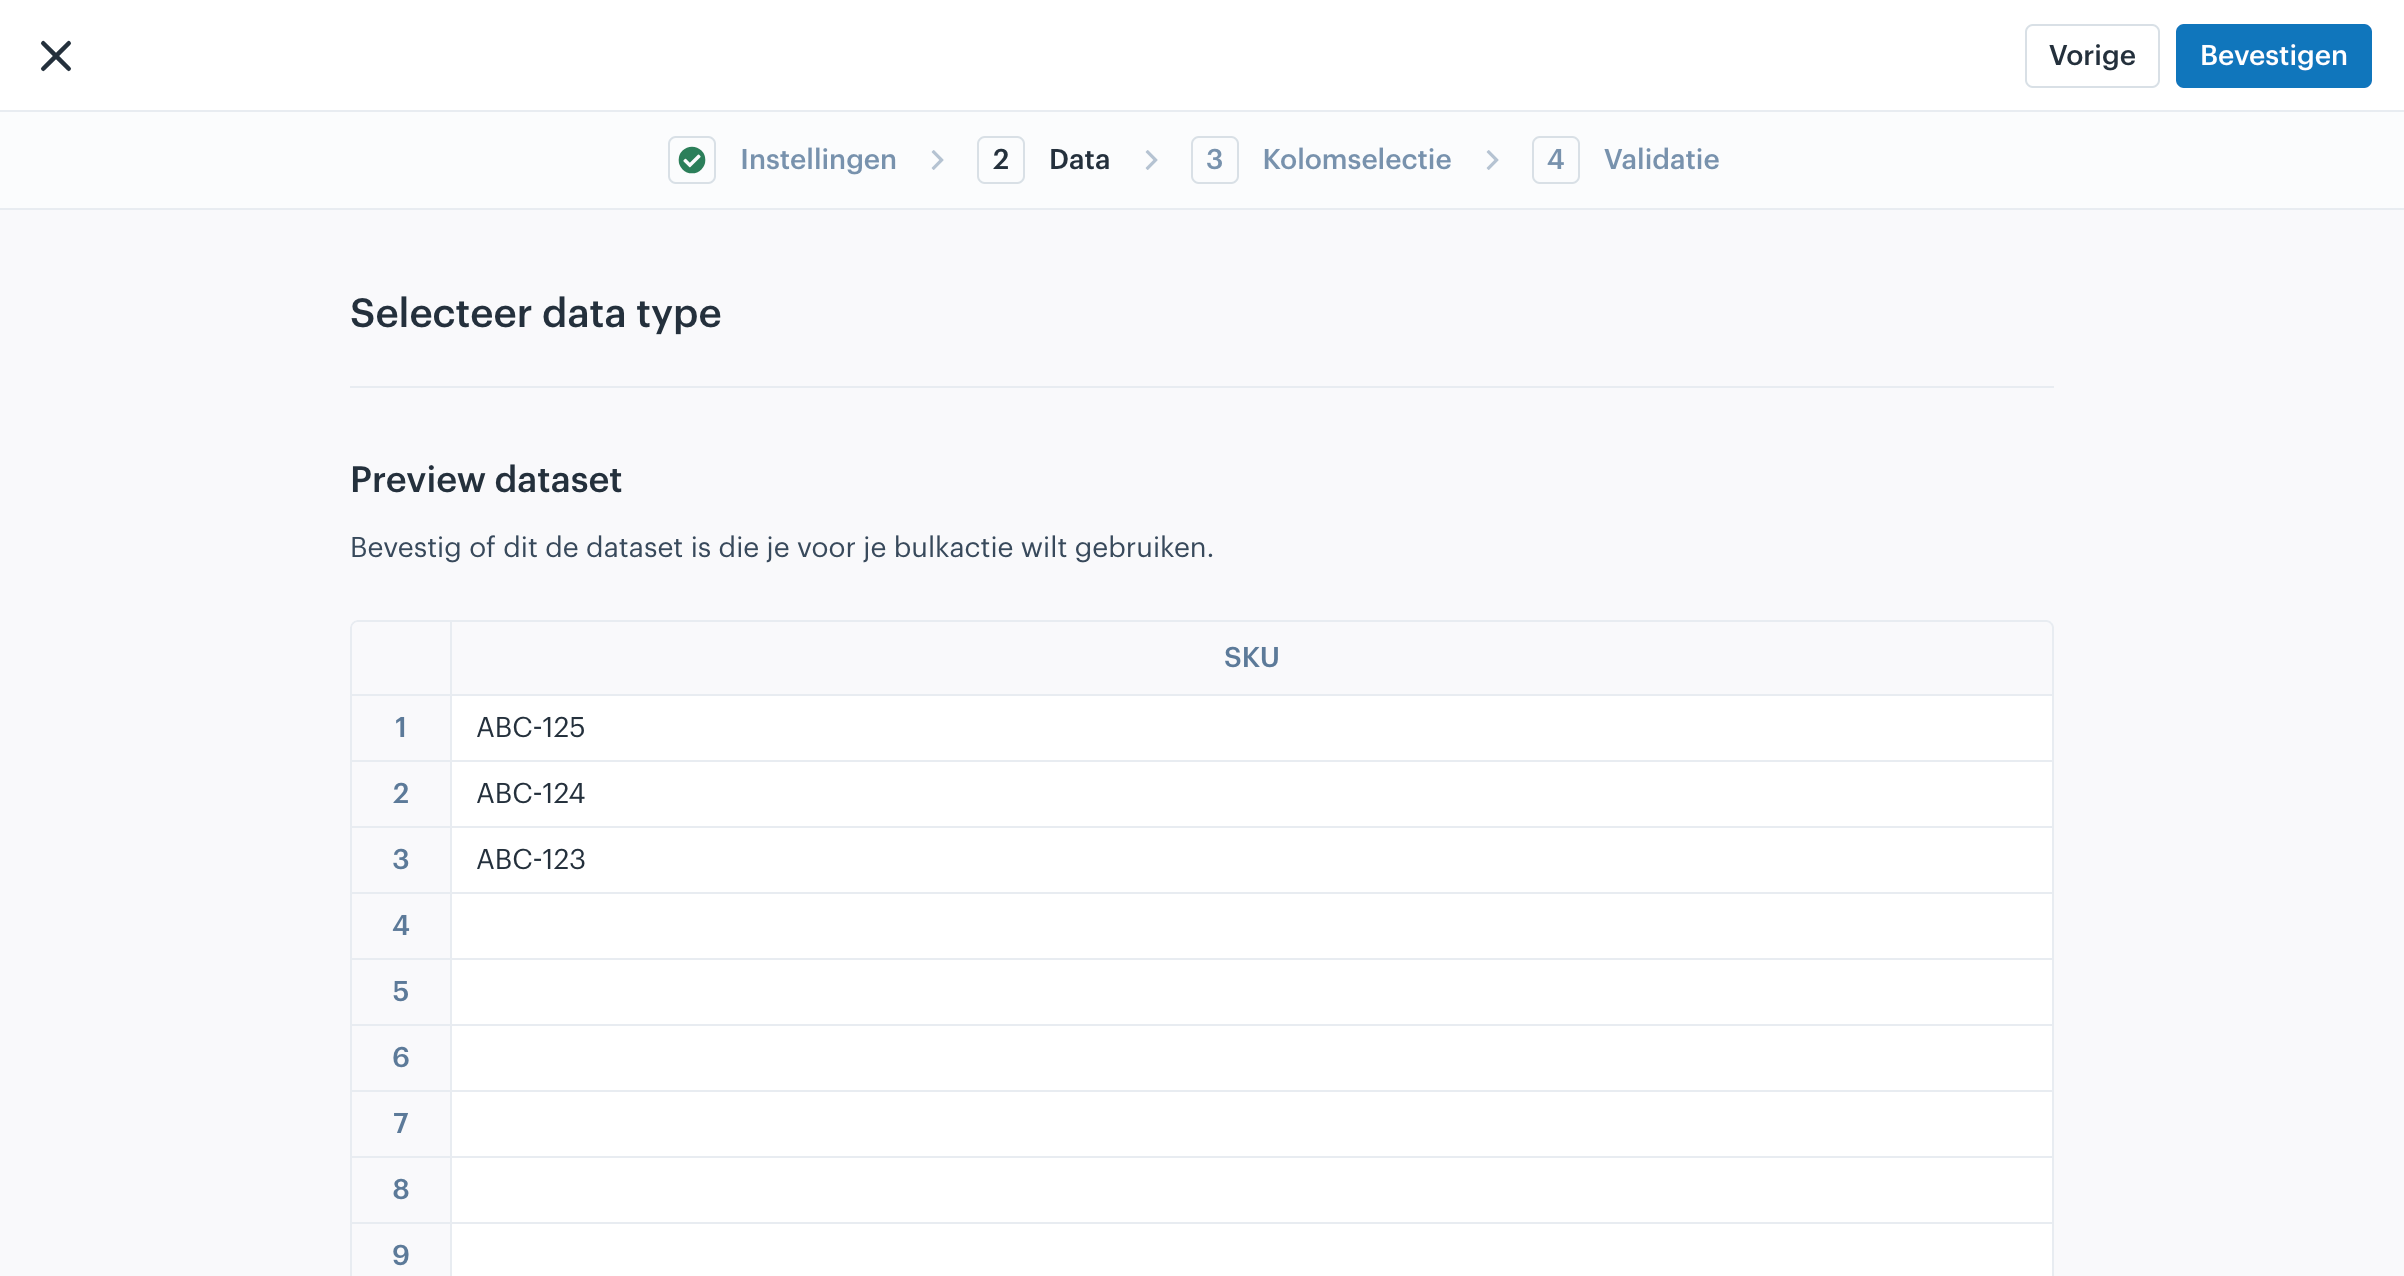
In the next step, check the entered data and confirm your dataset if you are satisfied, or go back if you want to edit the data.
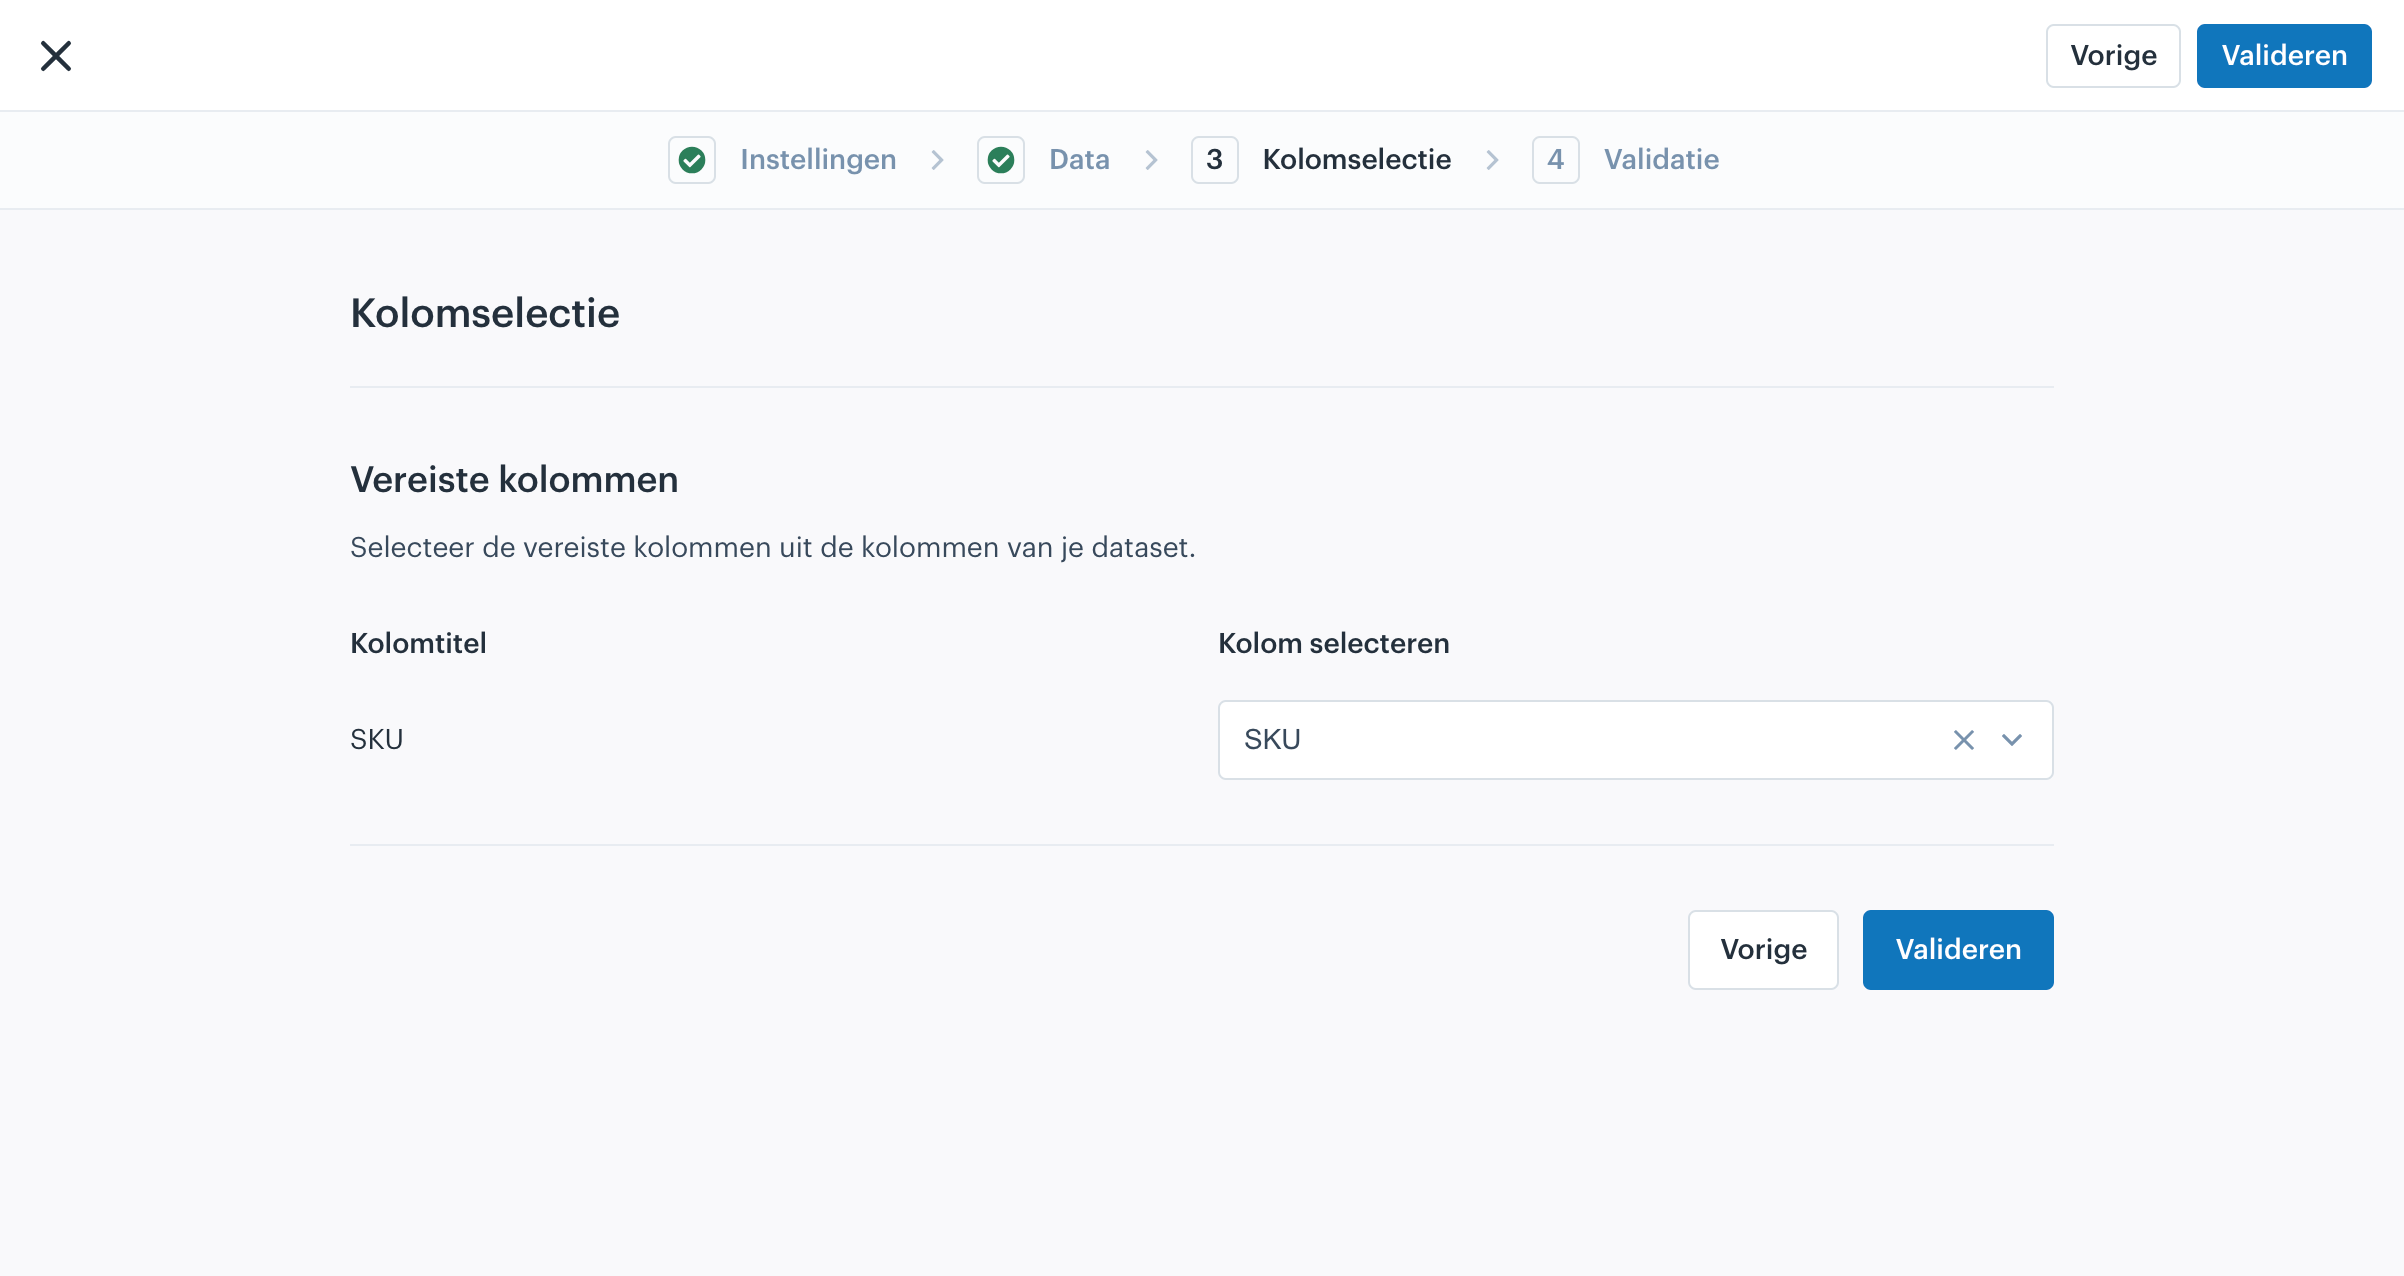
Column selection
In the next step you need to link the columns from your dataset to the columns in Afosto. If you have used the same column names from the template, the columns will already be automatically matched correctly, as the system recognizes the columns.
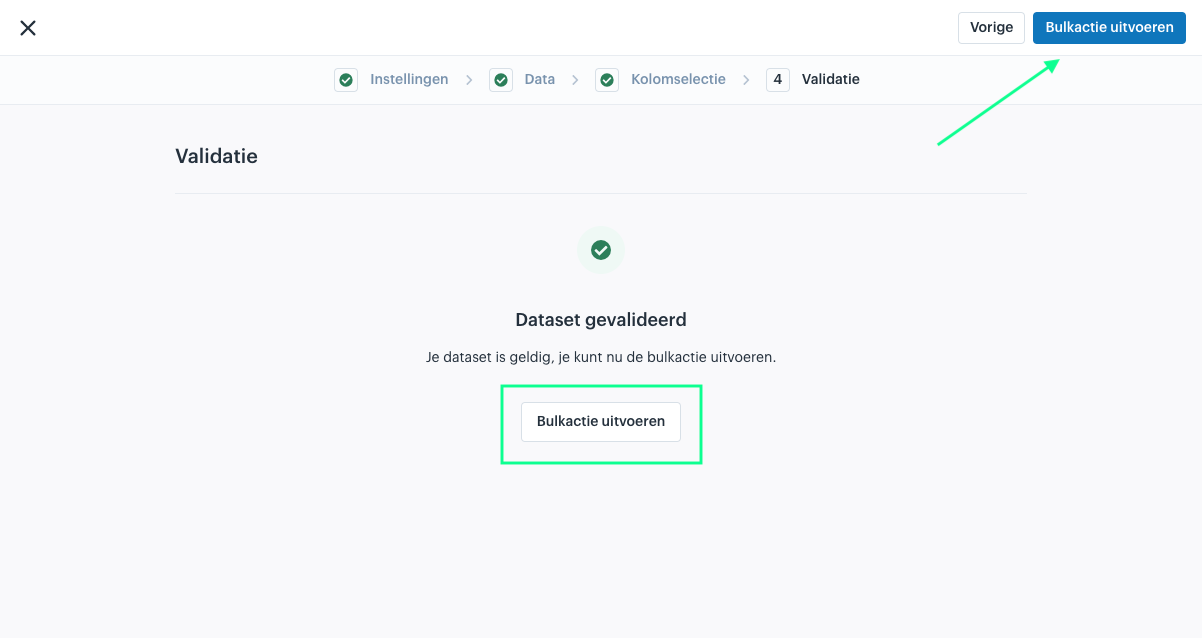
Validation
Once you have clicked 'Next' the dataset will be validated. If there are no errors, you can click 'Execute batchjob' to perform the batchjob.
At the first notification that the validation has failed, it can help to run the validation again immediately.